Here’s everything you need to start using your wireless lavalier microphone: 60-second setup, use cases and a free template that turns a field-visit voice debrief into a clean, structured report.
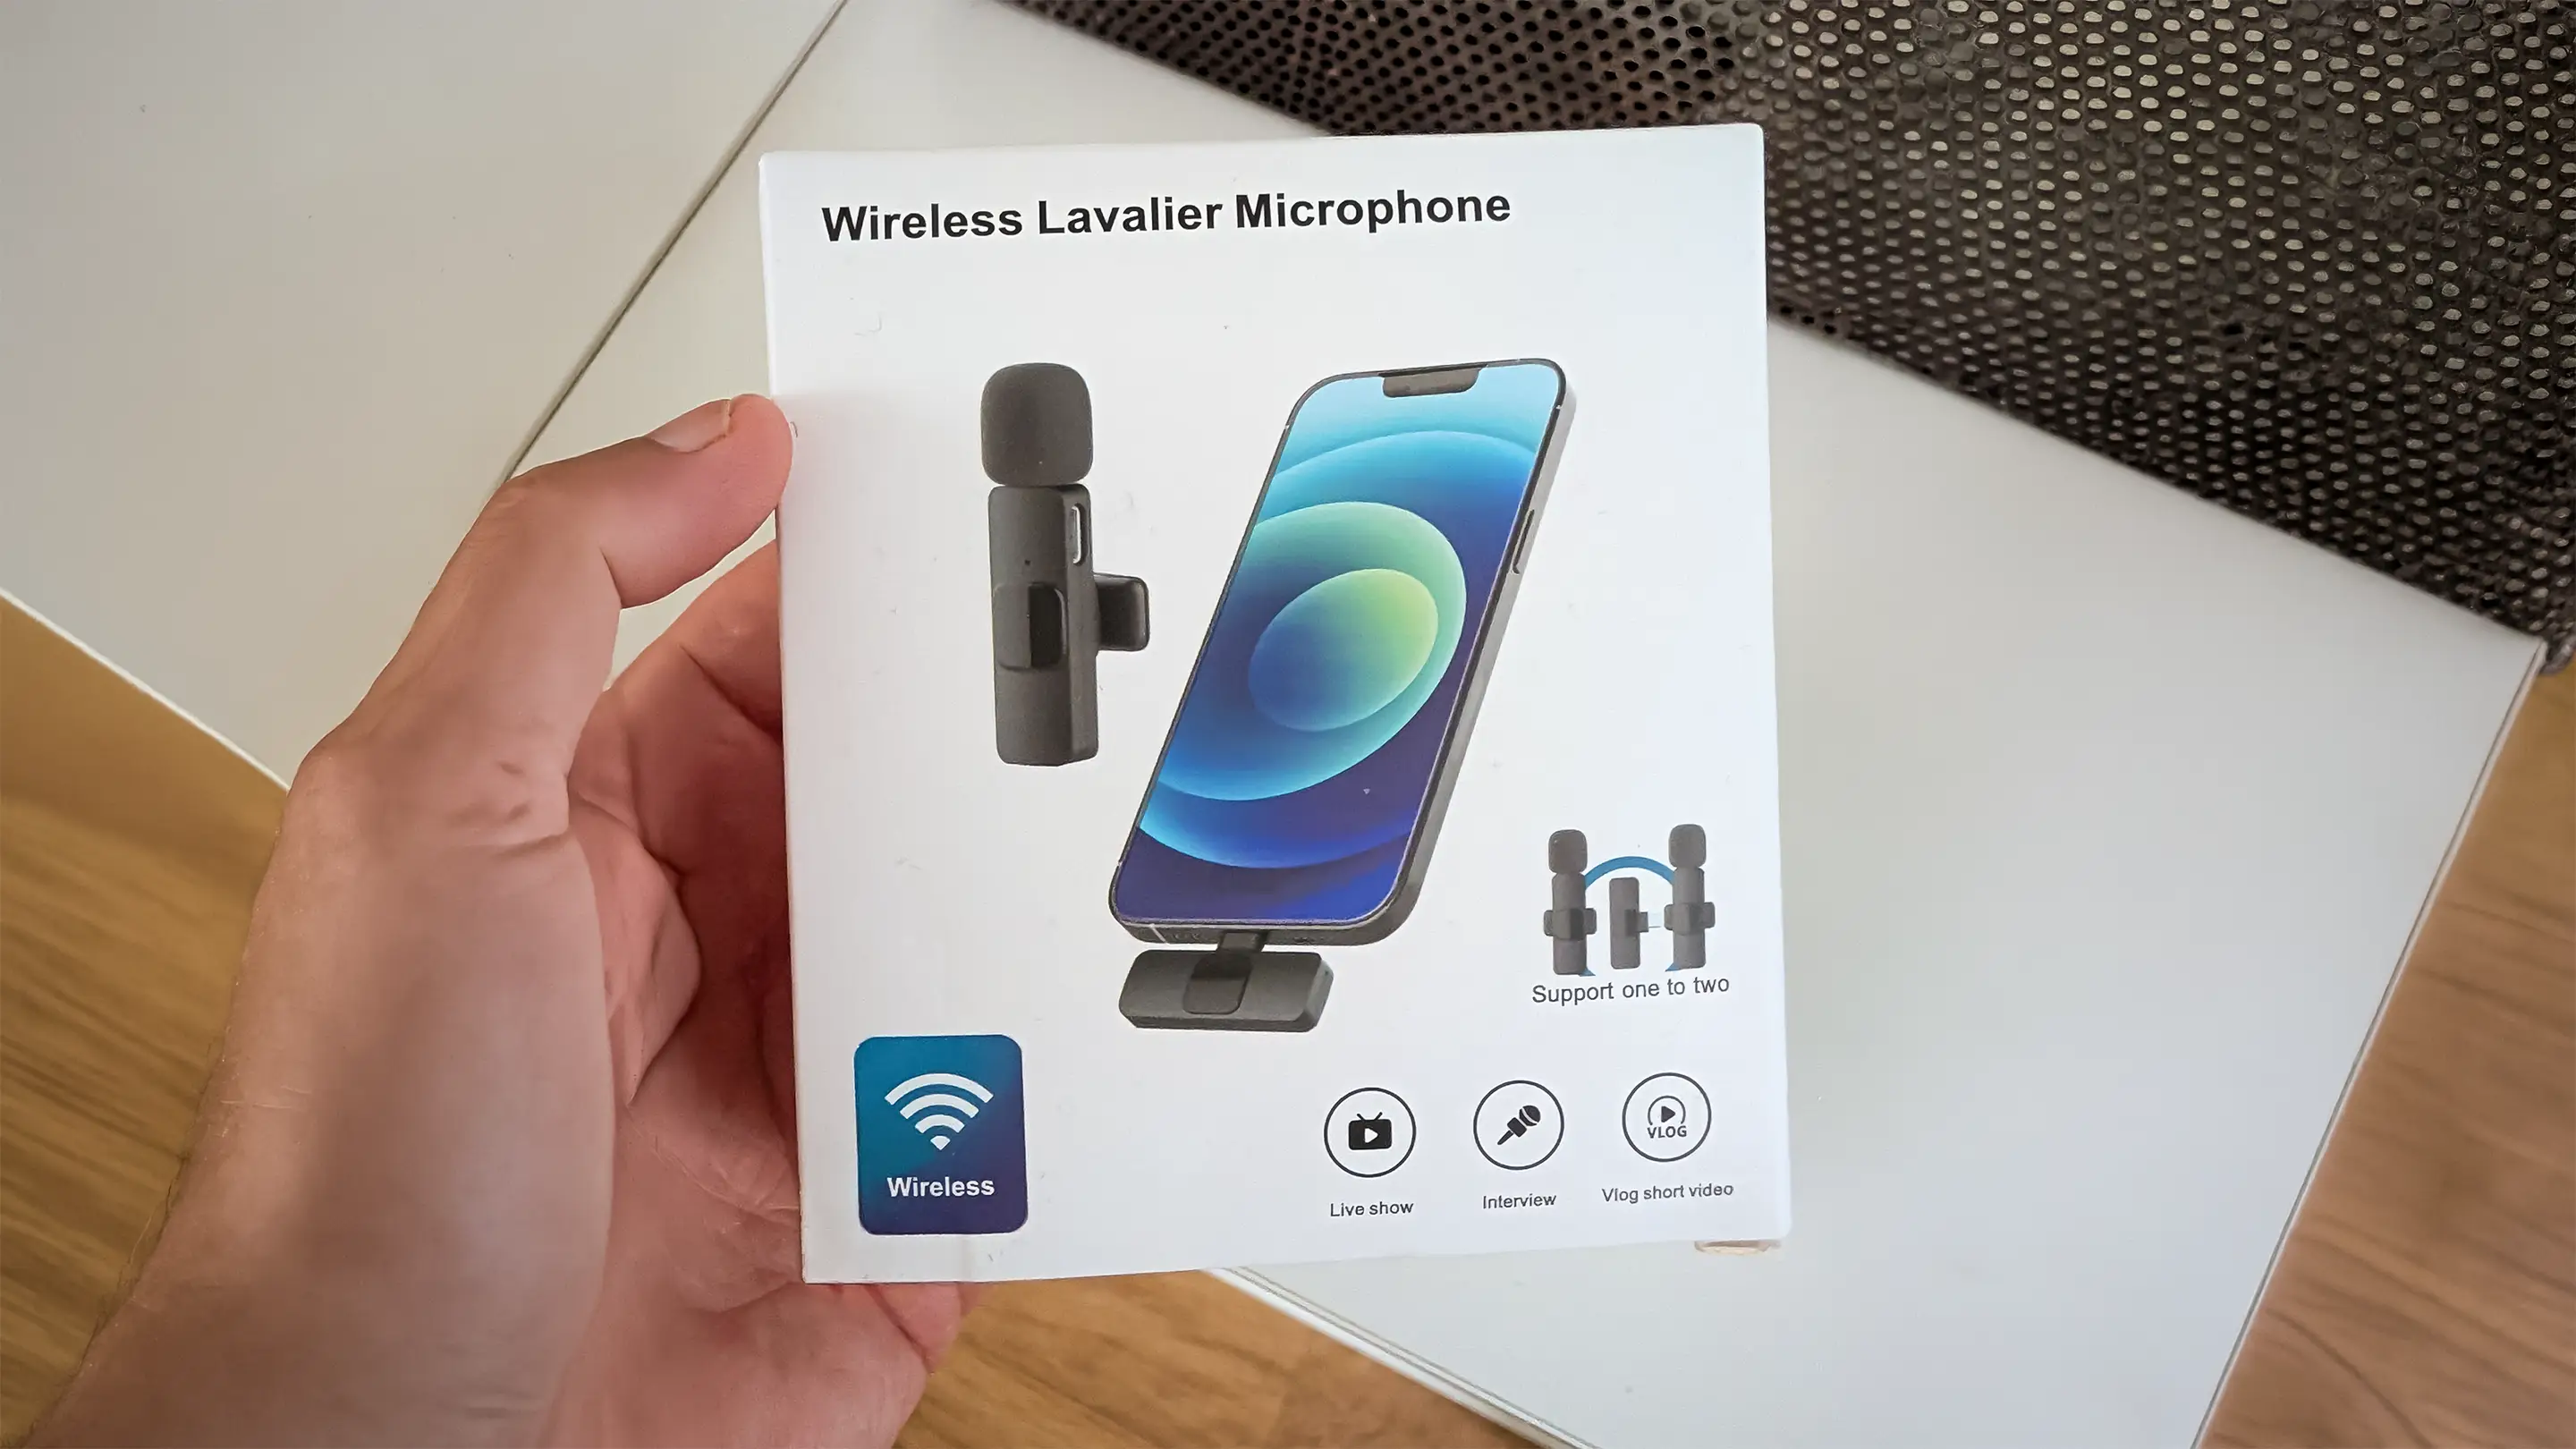
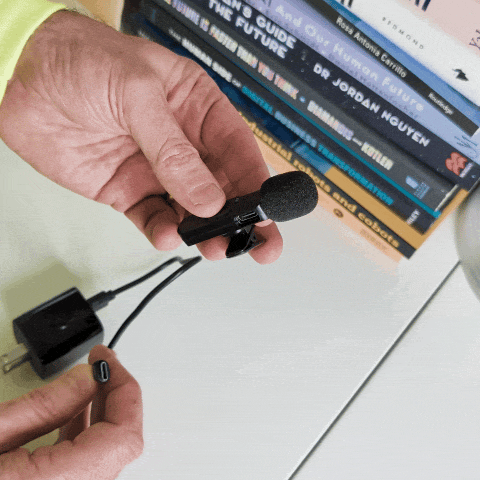
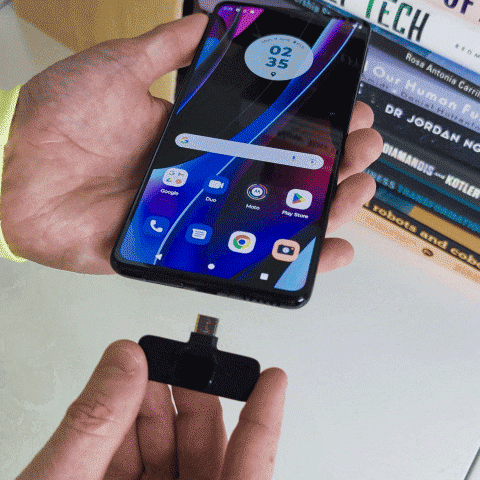
The microphone is the only part with a battery, so give it a charge before your first use by plugging the included cable into the USB-C port on the mic and into any normal charger or laptop.
The receiver has nothing to charge — it runs off your phone whenever it’s plugged in. So the only thing to think about before you head out is charging up the mic.
This is a USB-C version, so it works with:
It is not compatible with Lightning iPhones (iPhone 14 and earlier). If that’s your phone, you’ll need a USB-C device to use it.
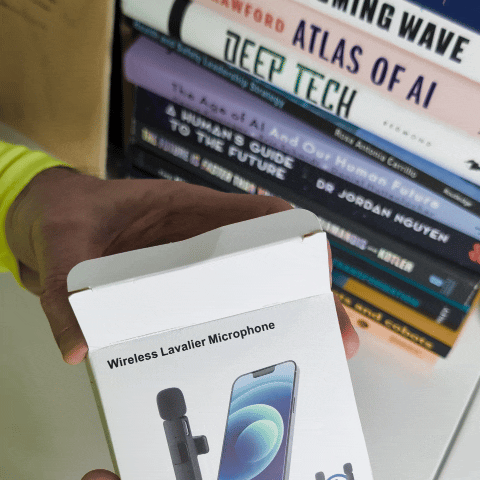
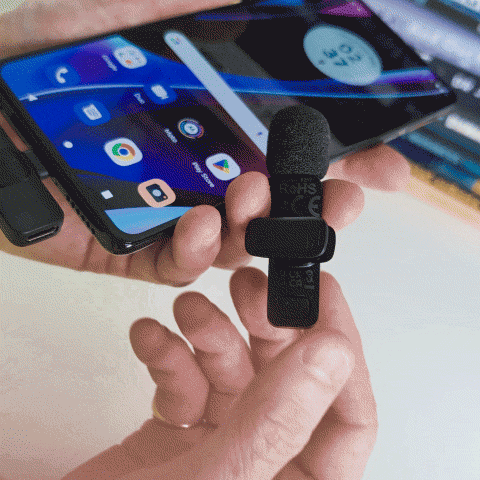
There’s no app and no Bluetooth pairing to fuss with. It’s plug-and-play wireless — the receiver and mic find each other on their own.
That’s it. You’re recording.
Clip the mic to your collar or lapel, roughly a hand’s width below your chin. Keep the foam windscreen on for anything outdoors — it cuts wind noise and handling rumble, which is most of what makes field audio hard to use.
A lapel mic does one simple thing well: it puts a microphone close to your mouth and keeps your hands free. The audio comes out far cleaner than a phone held at arm’s length — less wind, less distance, less background noise. Anywhere you’d rather talk than type; use a wireless lav mic.
Do your site visit, then record a short spoken debrief while it’s fresh. Good audio in means a good transcript out. Transcribe the audio and then use the text in our templated .md file provided below to prompt a large language model to structure your transcript into your desired output.
Point the camera at yourself or at the work, talk through what you’re doing, and cut it into short clips later in an editor like Microsoft ClipChamp (provides a free plan with basic features).
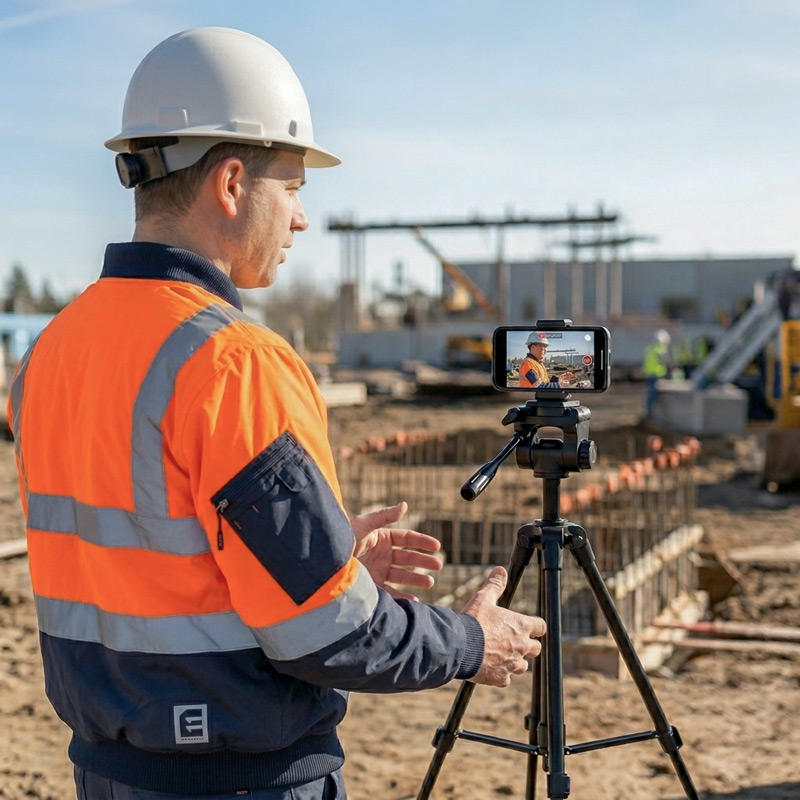
Set your phone on a small tripod, position it at key locations around a worksite, and narrate a contextualised orientation or induction for that specific location. Trim it to your voice and the vision and you’ve got reusable content in minutes rather than days. Ultimately you can be away from your phone and still get good audio.
Clip the microphone on the person you’re talking to for a clean one-on-one, a toolbox insight, a short capability story, or gathering feedback from the field workforce.
Capture a verbal handover end to end, transcribe it and then let AI structure it into a clear, consistent written handover.
Run your mic into a live Teams call for noticeably better audio. Mount the phone on a tripod, or walk the site with it, so remote participants can join a site walk or run a remote site assessment with you.
Talk your way through an audit on site — critical control assurance, Chain of Responsibility checks, and similar — instead of scribbling as you go. Adapt a template so the AI turns your spoken walkthrough into a completed, structured checklist.
The same idea works for anything you’d normally write up: capture it as you talk, and let AI give it structure.
The following workflow is how we’d recommend taking a voice observation and structuring it into a report using AI.
Visit a worksite. Spend the time observing the work and talking to the people doing it — focus on your human skills knowing you will be able to capture your insights once you’re done.
When you’ve completed your observations hit record on your phone’s camera or voice recorder — the mic feeds straight in — and talk through a short debrief covering key criteria: the task and how it’s set up, the hazards that could cause serious harm, the critical controls, the supporting controls, what’s working well, what could be better, and any follow-up actions.
Then let AI do the structuring. First transcribe your audio for free in Microsoft Word, then paste the resulting transcript text into the bottom of the template below. Finally, paste the template text with the transcript text as a prompt into Copilot, Claude or Gemini, and you’ll get back a clean, structured field observation report. You talk; it organises.
This prompt will work in Copilot, Claude or Gemini. The template includes the questions to cover on site and a worked example so the AI gets the format right and gives you get a clean, structured report back.
The template is in a Markdown (.md) file — just a plain text file, like a notepad document, nothing special to install. Download it, read it and remove the introduction text then paste it into Copilot, Claude or Gemini along with your voice-debrief transcript.
We strongly recommend modifying it to suit your context but it’s a good example to get started.
The mic is the easy part. The value is in the workflow around it — the right questions, the right structure, and AI that turns field talk into something your business can act on.
Pocketknife Group helps teams design exactly that, across field observation, audit and assurance, critical control verification, and more. We call this Better Work, By Design.
A field debrief can capture real names, people and site details. Before you paste a transcript into any AI tool, remove or anonymise names, client details and exact site identifiers unless you have consent to process them — and use your organisation’s approved AI tool for anything work-related.
A free resource from Safety Innovation Academy™, part of Pocketknife Group®.
At Pocketknife Group (PKG), we are more than just a consultancy; we are architects of better work.

We tell you what you need to hear—even when it’s uncomfortable. We admit when we don’t know and when things didn’t work.

We do it the right way. We stand by our work. The work has to be sound — researched properly, tested, built to hold up.

We challenge what isn’t working and celebrate what is. Innovation requires being willing to feel uncomfortable.

Beyond our work on fatality prevention, mental health and wellbeing, we contribute to environmental projects and industry.